|
N
D
I
C
A
T
O
R
S
web-design
Geir Kjensmo
|
Simple strike indicators
The strike indicators presented in the article
below, take some time to make and the plastic cones can be hard to
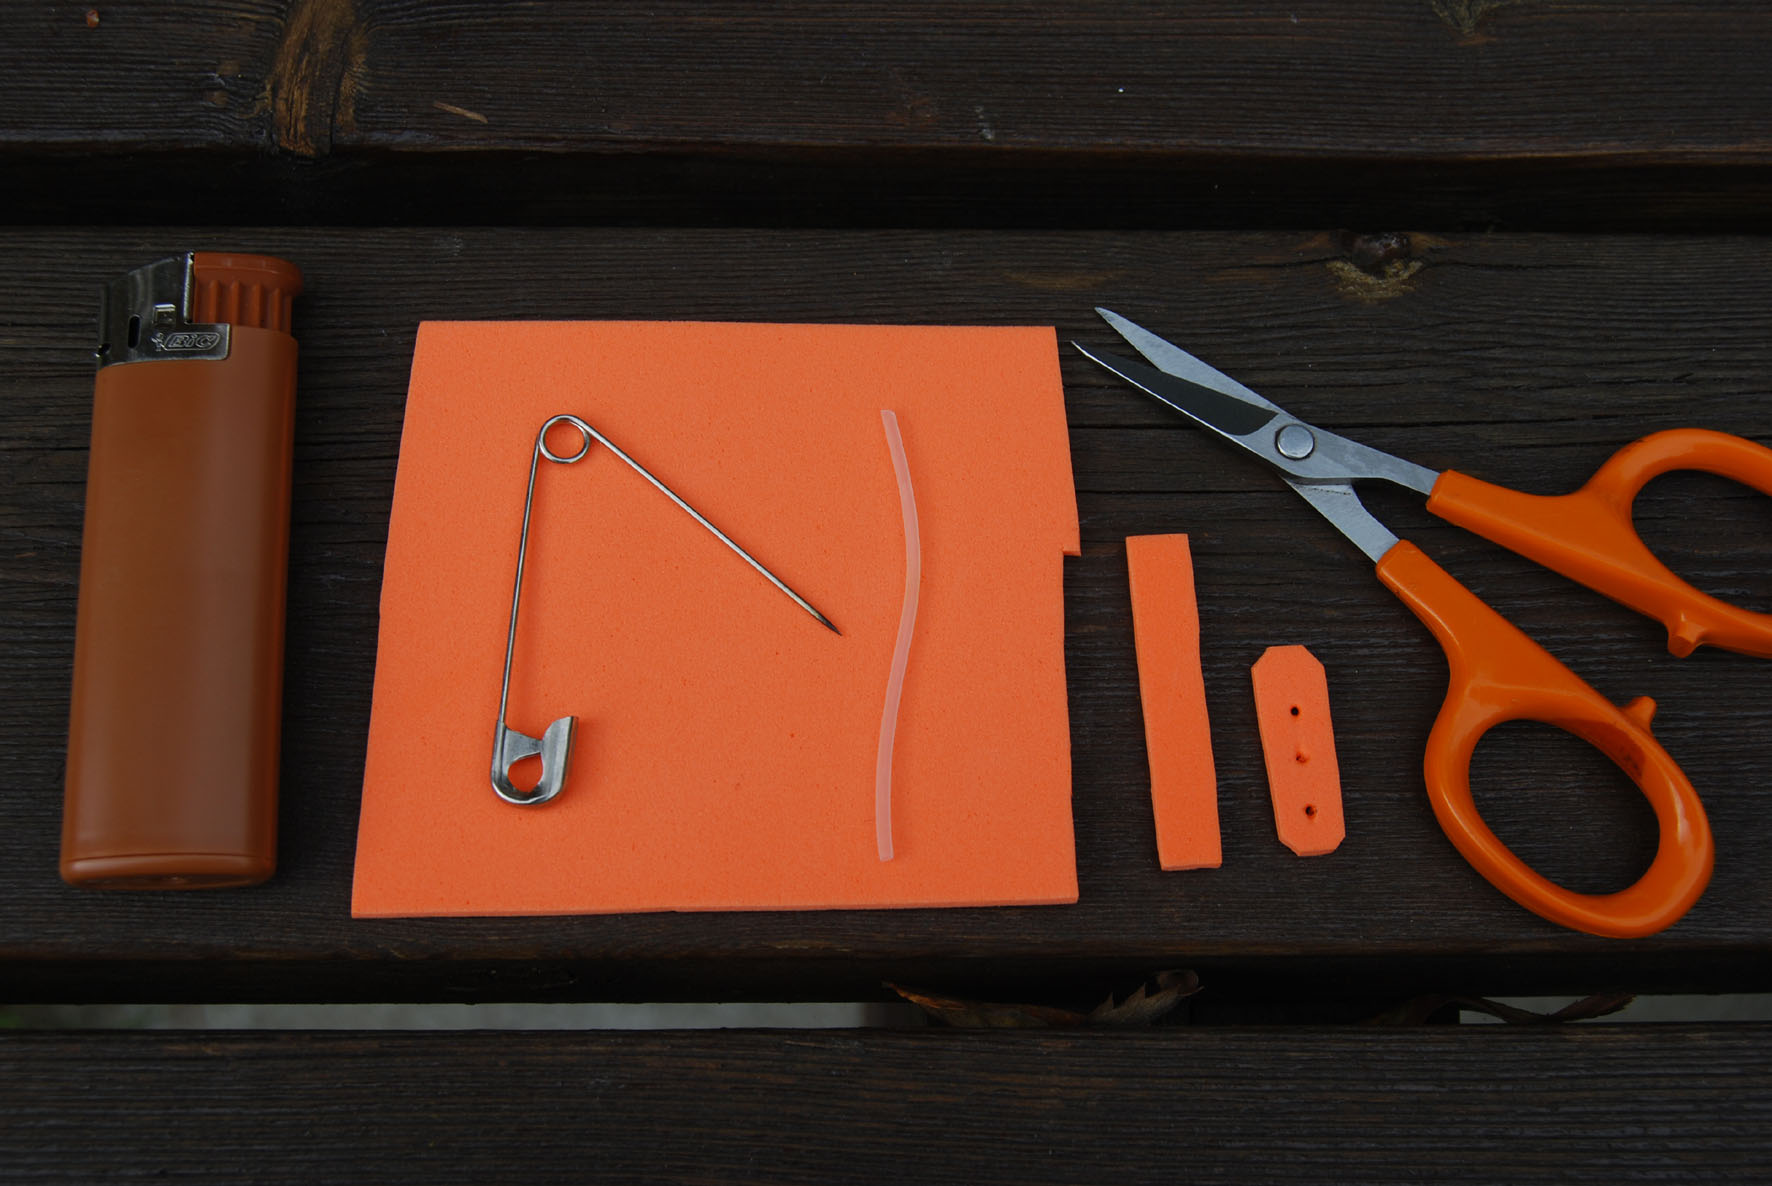
get. Therefore I simplified the indicators and now you can make them
with ease from few easy obtainable materials and tools:

Lighter, scissors and a needle, are the tools.
Fly tying foam (closed cells) and thin plastic tube (plastic tube
lining for salmon bottlenecks).
Cut desirable size of foam (desirable floating ability), warm the
needle and melt 3 holes in the foam.
Cut equal length of tube as foam. Finish!

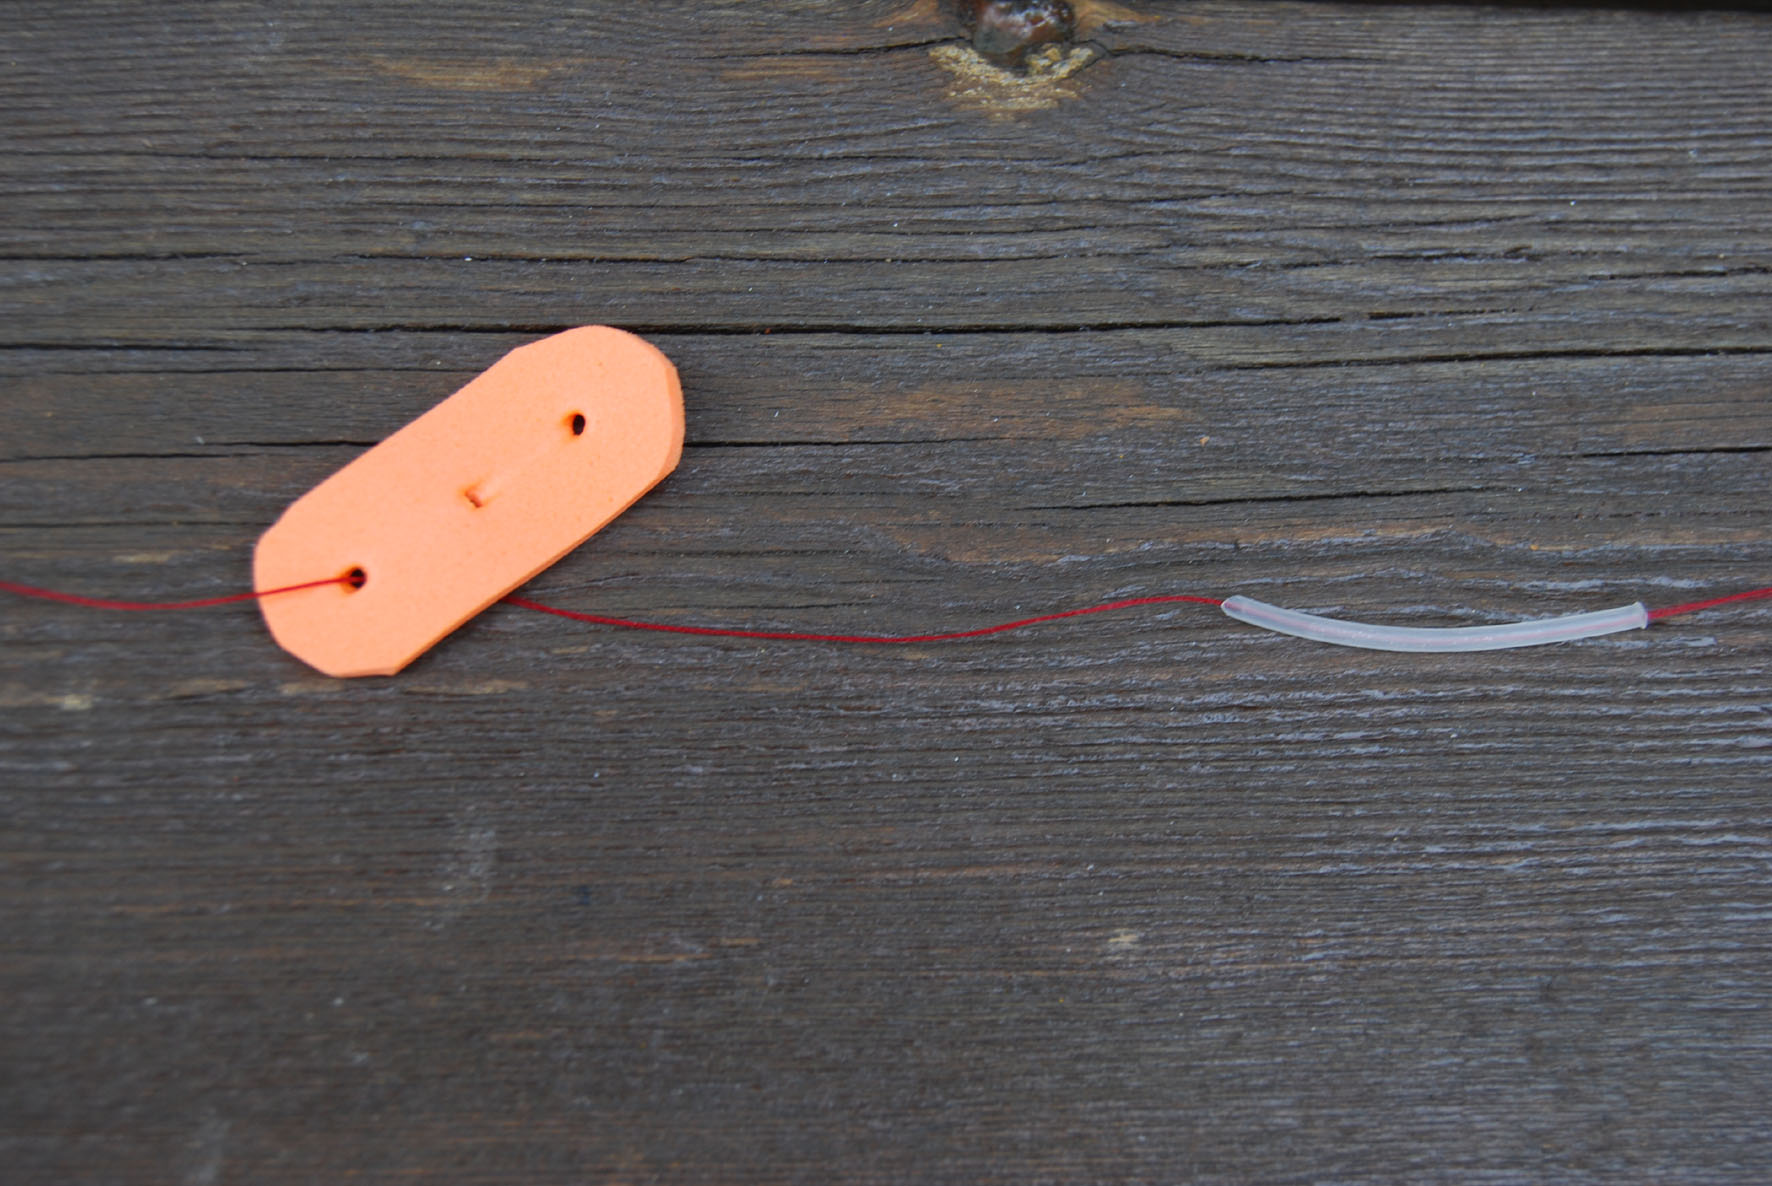
Thread your leader first through one hole in the
foam, then through the tube.

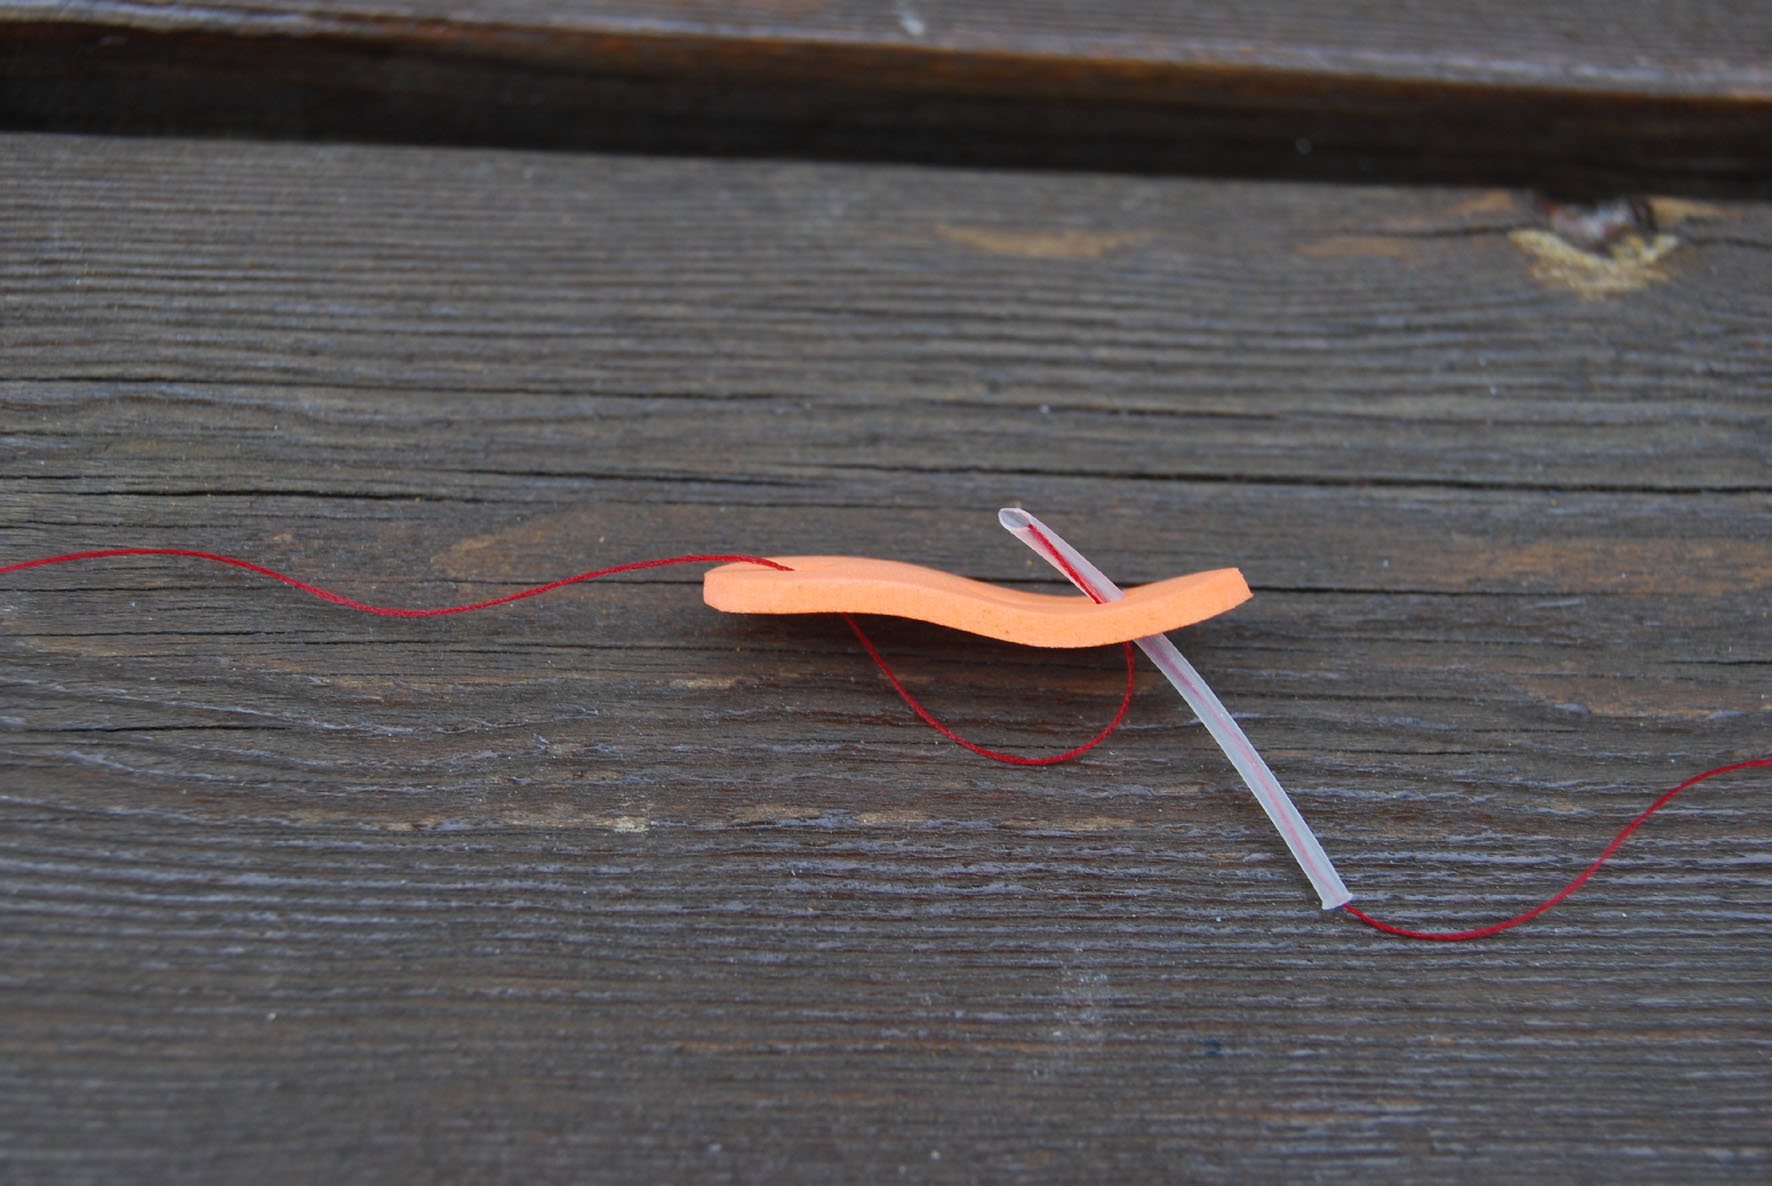
Then push the tube through all 3 holes in the
foam.

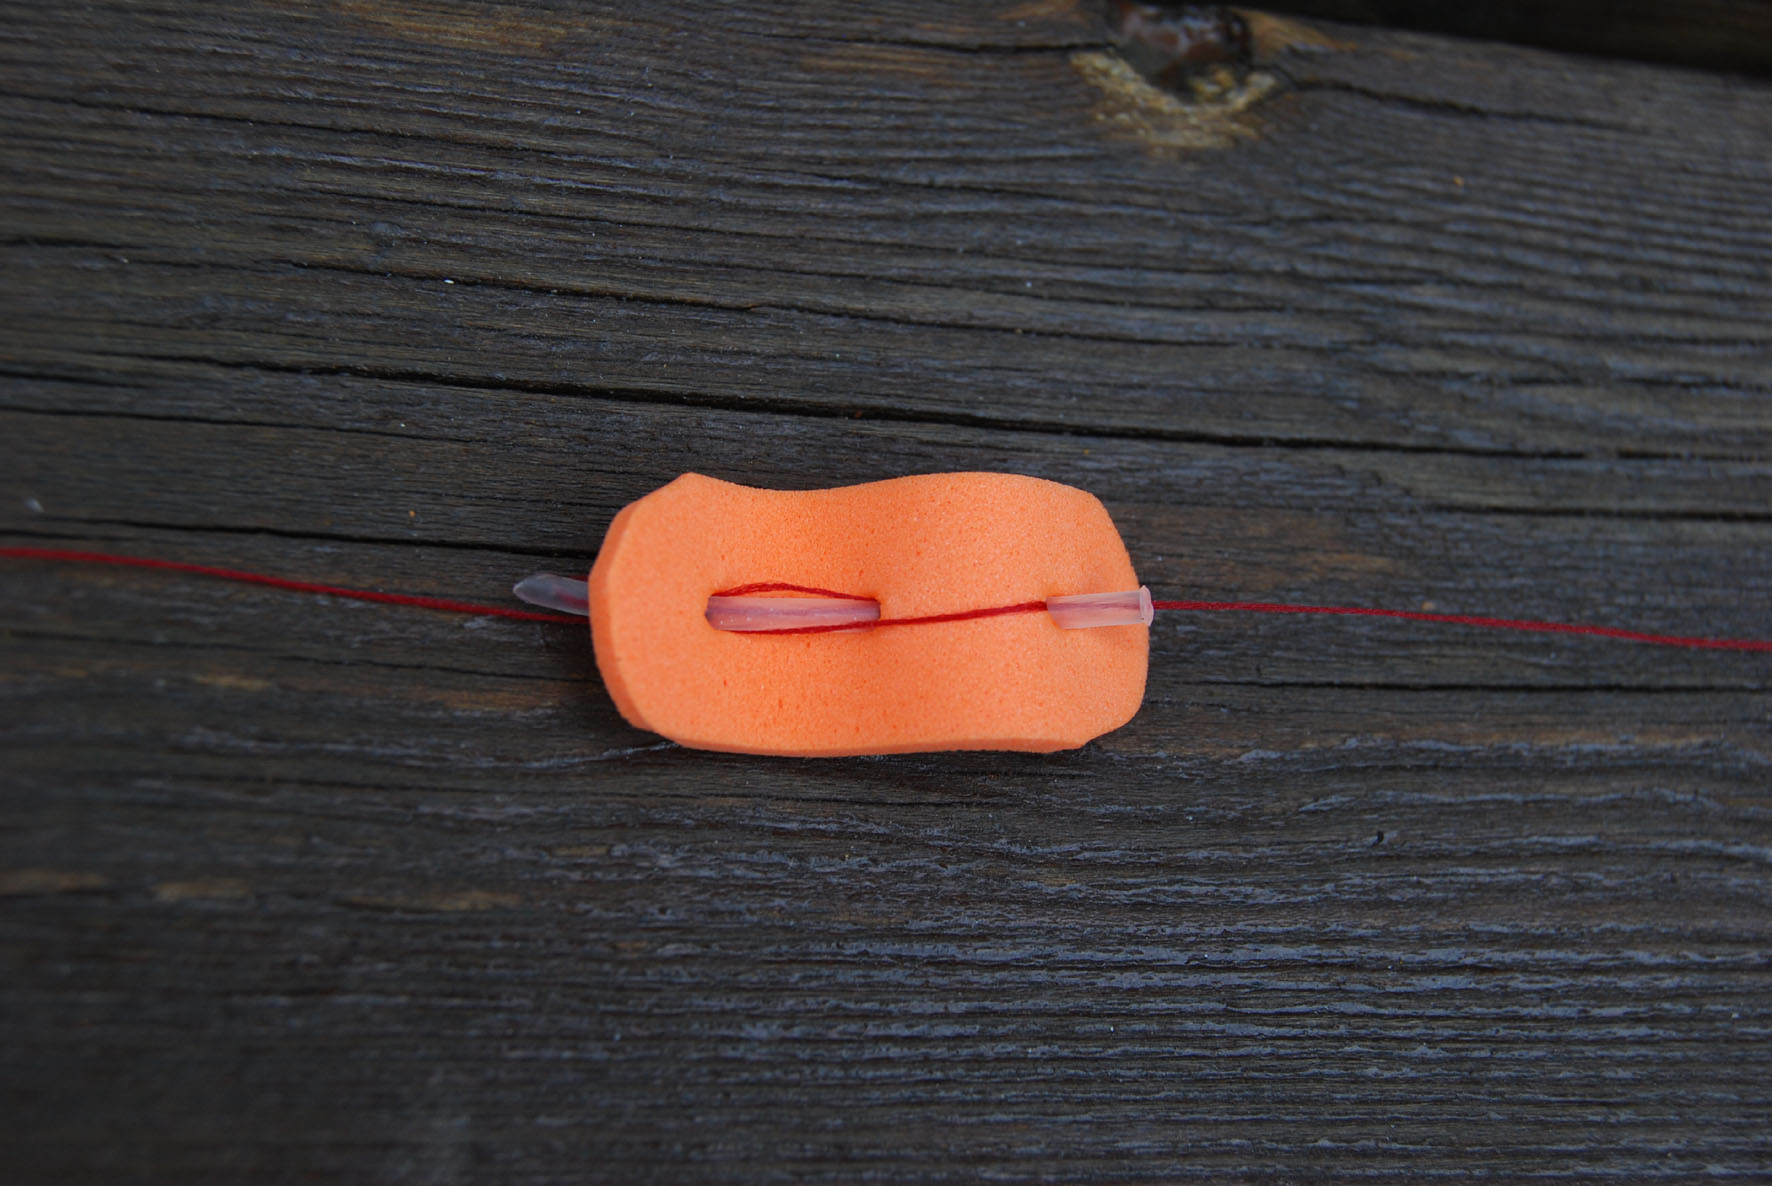
Now the indicator is fixed on your leader. Just
pull the tube out again for adjusting depth.
This indicator will loosen and slide down your leader when playing
fish.
--------------------------------------------------------------------------------------------------------
Tie your best strike
indicators!
When it comes to fishing
with a single hand rod, I’m afraid I’m something of a dry fly
purist!
Well, precision casting stone fly nymphs to big browns or rainbows
I’ve stalked in those gin clear New Zealand rivers, don’t however
give me sleepless nights!
I live in Norway in the small city of Elverum, in my mind
the grayling capitol of Europe, and fly fishing for grayling
is an activity for me all year. Cold winters in Norway, you think?
Well due to the global warming, winters are not that cold anymore.
Elverum is situated on the banks of river Glomma and this river with
all her tributaries; give us enormous opportunities for grayling.
One of the tributaries, river Rena, is regulated with the big and
deep lake Storsjöen as a basin. This gives a higher water
temperature in the river flowing out of this lake. This effects also
river Glomma from the conjunction with river Rena down to the city
of Elverum.
So, from my home, I only have to travel a couple of kilometres to
fish for grayling all year.
I experience dry fly action from late March to the beginning
November, but in the edge of the season, only on calm, sunny days.
Other days and in the winter, I bite the grass and fish with nymphs!
The Czech or Polish nymph technique is
very popular and widespread now, but after a couple of winter
seasons practising this, I’m not happy:
To lob a jiggle of 2-3 heavy
nymphs in the water, don’t involve any fly casting and you would
probably do better with a long bait fishing rod! Well, the method is
effective, but the reminiscence of competition fishing, gives me a
bad taste in my mouth.
There are a couple of other very good methods to succeed in nymph
fishing.
Last two seasons, I’ve been an advocate of using micro-nymphs, size
16-20 Knapek barbless hook tied with material and micro tungsten
bead, very thin fluorocarbon leader and either a well impregnated
dry fly as indicator or my new strike indicators.
The dry fly, patterns like Rackelhanen, Streaking Caddis, Goddards
Sedge and Elk Hair Caddis, work very well in more shallow water and
as a bonus, a occasional grayling pick the dry instead of the micro
nymph! I tie the thin leader from the hook bend of the dry fly to
the nymph, NZ-style. Of course, it’s time consuming to adjust the
depth with this method.
In the cold period of the season, you’ll find grayling grouped in
deeper, slow flowing areas, and to reach this fish with those
relative light micro nymphs, I use a long piece of thin,
0,12-0,10mm, fluorocarbon leader(tippet). The length of thin leader
between indicator and nymph, 1,5 times of expected depth.
At this site, you find very good yarn indicators made with o-rings,
and I’ve used these a couple of times. However I experience problems
with them, sliding out of position or when I put the loop two times
trough the o-ring, this curls the leader, look bulky and are not
easy adjustable.
My development of strike
indicators will be presented here, the development with mind of
reducing wind resistance, making easy depth adjustments and root
this in the fly tying tradition.
A bonus with these indicators, is the fact that you can fish with
very long leaders, or rather long length between indicator and
nymph, without experience of indicator stopping in the top ring of
your rod when trying to land the fish. This indicator will slide
down your leader when hook up.
Things you need: good poly yarn (choice of your colour), salmon fly
plastic tube material (the Frödin system), a good floatant and a
thin plastic pipette or similar.
The latter, you can get from the chemist. The idea is to have a
conical thin plastic tube, so maybe you find other materials to
serve this purpose too.

Cut a short, 5-8mm, piece from the salmon fly tube material and fix
it in your fly tying wise as you would tying a salmon tube.

Tie in poly yarn in the volume of your choice; more yarn in heavier
lifting indicators.
Whip finish and secure the “head” with Bison Vinyl
Plastic, Zap-A-Gap or similar instead of head cement for better
durability.

Cut down the plastic cone so it will easily fit in the tube of the
indicator, and also cut some from the tip to allow thicker butts of
leaders to pass. Then impregnate; red Mucilin is my favourite! It is
designed to make silk-lines float so…………

To fix the indicator on the leader, you need to put your
leader through first the indicator and then the plastic cone, before
you tie your nymph on.
Then, make a simple loop between indicator and cone,
before fixing the cone inside the indicator. This way you lock the
indicator on your leader at the desired length between indicator and
nymph.


The brilliant thing now, when you hook a fish and the leader
tightens, the leader will release the indicator and indicator and
cone will slide down the leader. This to prevent problems when
fishing with long leaders and landing fish.

Well, this way I find enjoyment in fly fishing for grayling all year
and teamed up with moderate heavy nymphs, these indicators are a
pleasure to make a proper fly cast with! |